
Introduction
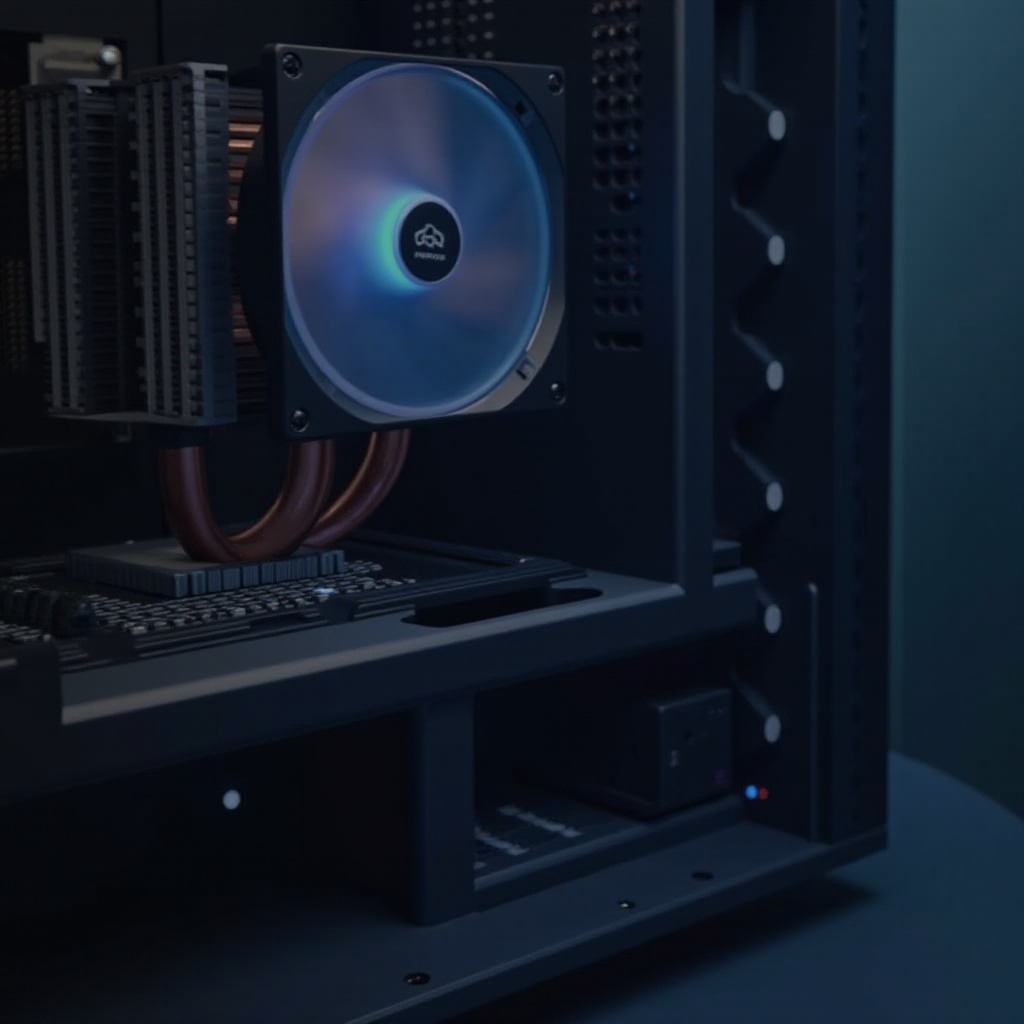
A faulty CPU fan can greatly compromise your computer’s functionality by causing overheating issues. Knowing how to replace your CPU fan is an essential skill to keep your PC running smoothly. This guide provides a detailed walkthrough of identifying when to replace your fan, gathering the required tools, and executing the replacement process with precision. Let’s begin the journey to restoring your system’s cooling efficiency.
Why You Should Replace Your CPU Fan
The CPU fan plays a pivotal role in maintaining a computer’s operational temperature. When it begins to fail, the risk of your CPU overheating increases, potentially causing crashes and hardware damage. Replacing a malfunctioning fan not only helps keep your machine cool but also preserves the integrity and performance of your computer’s components. It’s a crucial preventative measure for those committed to extending their PC’s lifespan.
Identifying When to Replace Your CPU Fan
Recognizing the signs that indicate the need for a fan replacement is a key part of maintaining your computer’s health. Several indicators can help you make an informed decision.
-
Signs of a Failing CPU Fan: Listen for unusual grinding or excessive noise. Such sounds often signify mechanical problems. If your computer experiences unexpected shutdowns or constant high temperatures, your cooling system may be compromised.
-
Impact on System Performance: A defective CPU fan can lead to overheating, causing the system to throttle the CPU speed to manage temperature. This reduces performance and results in frequent instability, hindering productivity.
Being aware of these signs will help you act promptly, paving the way for a well-executed preparation phase.
Tools and Preparation
Before diving into the replacement process, it is essential to gather the appropriate tools and ensure your workspace is prepared. Investing time in preparation will result in a smoother and safer fan replacement.
-
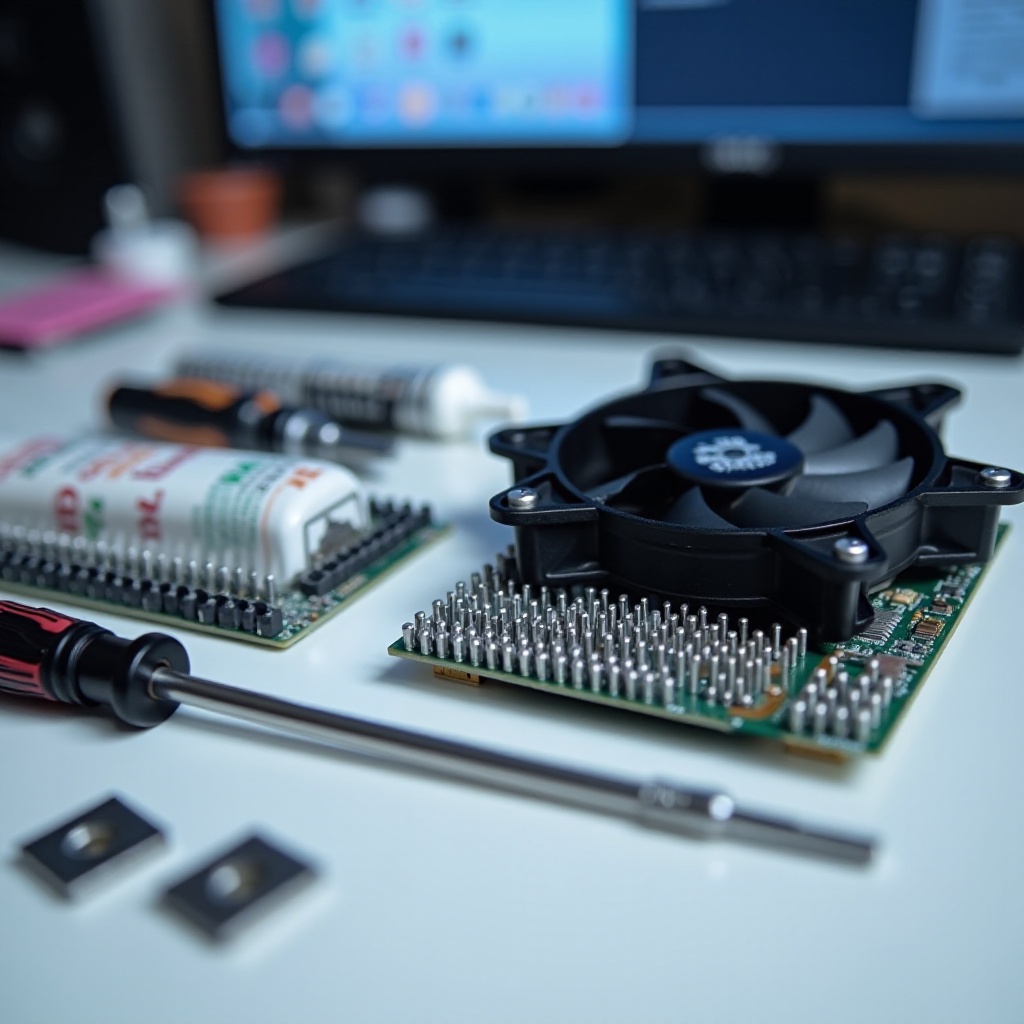
Required Tools and Materials: Assemble a Phillips-head screwdriver, thermal paste, rubbing alcohol, and microfiber cloths. Use an anti-static wristband to minimize the risk of electrostatic discharge.
-
Setting Up a Safe Workspace: Choose a clean, well-lit area free from static electricity. An anti-static wristband or frequent grounding by touching metal objects is recommended to prevent static damage to components.
A meticulously prepared environment ensures minimal risk during replacement and guarantees better results during the installation process.
Step-by-Step Guide to Replacing Your CPU Fan
With the groundwork laid, follow these steps to effectively replace your CPU fan, ensuring your computer’s cooling system is restored to optimal functionality.
-
Safely Removing the Old CPU Fan: Power down the computer and unplug all cables. Carefully open the case and locate the CPU fan. Unscrew and detach any wires connecting the fan to the motherboard.
-
Cleaning the CPU and Surrounding Area: Once the old fan is out, clean the surface of the CPU using rubbing alcohol applied to a microfiber cloth to remove remnants of old thermal paste. Thoroughly clean any dust or debris from the vicinity.
-
Installing the New CPU Fan: Apply a thin layer of fresh thermal paste to the CPU. Align and secure the new fan in place with screws, then attach the fan’s wires to the motherboard’s correct connection slots. Recheck all connections to assure a proper setup.
Completing these steps with care will ensure a successful installation, leading to testing to confirm everything is in working order.
Testing Your New CPU Fan
Post-installation testing is crucial to confirm that your new CPU fan operates as intended, preventing potential future problems.
-
Checking Fan Operation: Turn on the computer and listen for any irregular sounds coming from the fan. Enter your system’s BIOS to verify the fan’s speed settings are appropriate.
-
Monitoring CPU Temperature: Utilize software such as HWMonitor or Core Temp for real-time CPU temperature monitoring, making sure it remains within safe ranges even under load.
Thorough testing confirms the fan’s efficiency, allowing you to continue using your computer without incident and safeguarding your system’s longevity.

Conclusion
Knowing how to properly replace your CPU fan is invaluable for preserving your computer’s efficiency and life span. With the right knowledge, tools, and careful attention to detail, you can successfully maintain your system and avoid costly repairs. Regular maintenance and vigilance in noticing signs of wear are instrumental in ensuring your PC operates at peak performance.
Frequently Asked Questions
How often should I replace my CPU fan?
The frequency depends on usage and environment. Monitor for overheating or mechanical issues to determine if replacement is needed.
Can I replace the CPU fan myself or should I hire a professional?
With the appropriate guide and tools, replacement can be done at home. However, if uncertain, seeking professional help is advisable.
What are the risks of not replacing a failing CPU fan?
Ignoring a failing fan can lead to overheating, causing throttling, system crashes, or permanent processor damage, potentially resulting in costly repairs.